
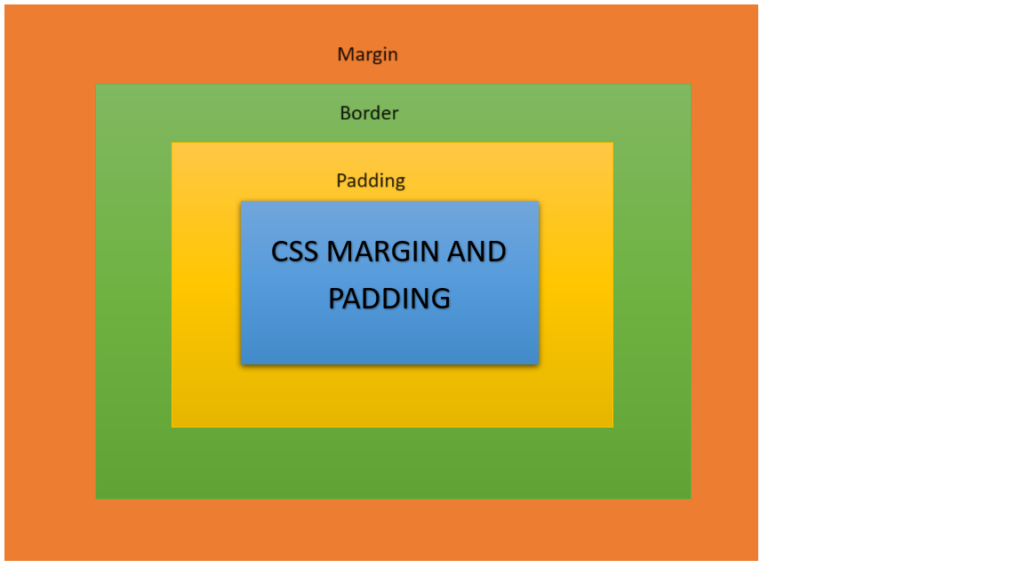
CSS Margin And Padding
CSS margin makes an element’s border bigger and changes the way it looks around it, whereas padding makes an element’s border smaller and pushes the content inside without changing the layout around it.
To control the spacing and arrangement of items on a webpage, CSS margin, and padding properties are crucial.
CSS Margins
In CSS, the unknown spaces that surround an element and keep it separate from its neighbors and the viewport (the portion of the web page that is visible) are known as margins. CSS Margin is a crucial component in web design that defines the space surrounding an element.
What is Margin?
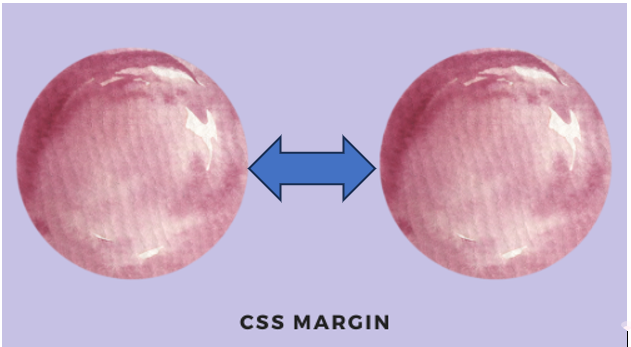
- Margin is, in short, the space that is created around an element outside of its designated boundaries.
- The margins on the top, right, bottom, and left can all be adjusted separately.
- The margin’s values can be given in several different units, such as auto, rems, ems, pixels, or percentages.
Margin Values
The values shown below can be assigned to any of the margin properties:
- Auto: The browser determines the appropriate margin size, which is frequently utilized to center components.
- Pixels (px): The most often used unit gives a set quantity of pixels.
- Percentage (%): The margin is computed as a percentage of the height (for vertical margins) or breadth (for horizontal margins) of the containing element.
- Inherit: makes it clear that the parent element’s margin should be used.
- Other units: Relative sizing can also be done with less widely used units like em, rem, vh, and vw.
NOTE*: You can have negative values.
CSS Margin Properties
The margin on every edge of an element can be specified using the following attributes in CSS:
margin(shorthand property)margin-topmargin-rightmargin-bottommargin-left
Syntax:
element{
         margin: value;
}| PROPERTY | DESCRIPTION |
| Margin | A property shortcut that allows you to set every margin property in a single declaration. |
| margin-top | sets an element’s top margin. |
| margin-bottom | sets an element’s bottom margin, |
| margin-right | sets an element’s right. |
| margin-left | sets an element’s left margin. |
Margin-Shorthand Property
Margin (shorthand property): In a single declaration, sets the margins on each of an element’s four sides.
The following specific margin attributes are together referred to as the “margin property”:
margin-topmargin-rightmargin-bottommargin-left
Thus, this is how it functions:
- If there are four values in the margin property:
margin: 80px 100px 50px 80px;- top margin is 80px
- right margin is 100px
- bottom margin is 50px
- left margin is 80px
Example:
<!DOCTYPE html>
<html>
<head>
<title>
CSS Margin property
</title>
<style>
h2 {
margin: 80px 100px 50px 80px;
}
</style>
</head>
<body>
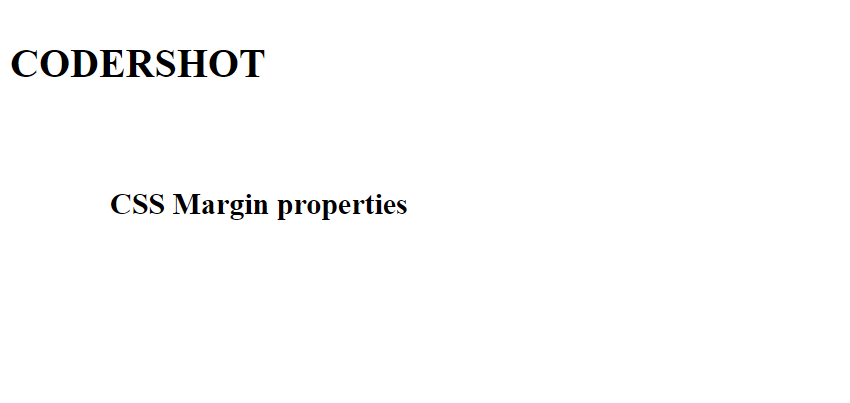
<h1>
CODERSHOT
</h1>
<h2> CSS Margin properties </h2>
</body>
</html>
Output:
2. If there are three values in the margin property:
margin: 40px 100px 120px; - top margin is 40px
- right and left margin is 100px
- bottom margin is 120px
Example:
<!DOCTYPE html>
<html>
<head>
<title>
CSS Margin Property
</title>
<style>
h2 {
margin: 80px 50px 100px;
}
</style>
</head>
<body>
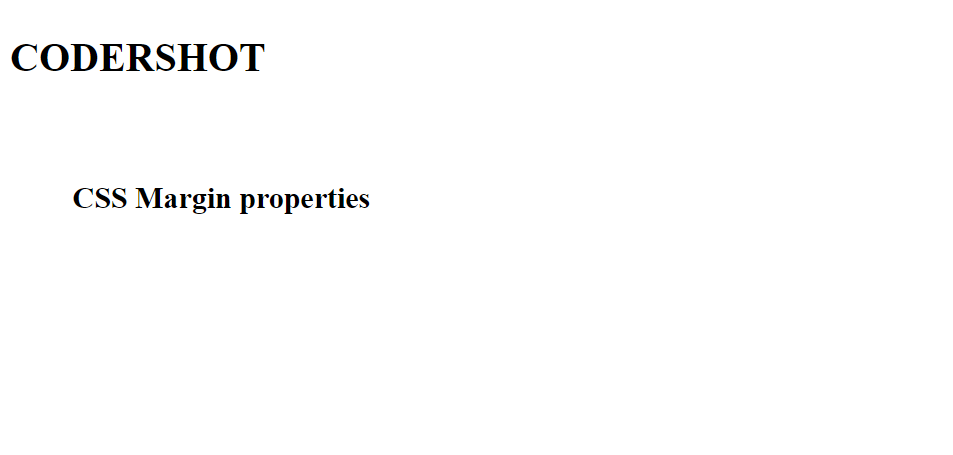
<h1>
CODERSHOT
</h1>
<h2>
CSS Margin properties
</h2>
</body>
</html>
Output:
3. If there are two values in the margin property:
margin: 40px 100px; - top and bottom margin is 40px
- right and left margin is 100px
Example:
<!DOCTYPE html>
<html>
<head>
    <title>
        CSS Margin Property
    </title>
    <style>
        h2 {
            margin: 100px 150px;
        }
    </style>
</head>

<body>
    <h1>
        CODERSHOT
    </h1>
    <h2>
         CSS Margin properties
    </h2>
</body>

</html>
Output:

4. If there are one values in the margin property:
margin: 40px; - top, right, left, bottom margin is 40px
Example:
<!DOCTYPE html>
<html>
<head>
    <title>
        CSS Margin Property
    </title>
    <style>
        h2 {
            margin:40px;
        }
    </style>
</head>

<body>
    <h1>
        CODERSHOT
    </h1>
    <h2>
         CSS Margin properties
    </h2>
</body>

</html>
Output:
When establishing several margin values in a single declaration, this arrangement guarantees predictability and clarity.
Uses of Margins
- Spacing elements: Make the pieces visually distinct from one another to improve reading.
- Creating layouts: Establish white space and channels for a well-balanced, well-organized layout.
- Aligning elements: To position components vertically or horizontally, use margins intelligently.
- Reactiveness: Utilize media queries to modify margins according to various screen sizes.
CSS PADDING
CSS padding can be used to create space within an element’s border and push the information away from the element’s boundaries. It is an essential component of the CSS box model together with the margin, padding, content, and border.
To provide space between an element’s border and content, use the CSS Padding attribute. It simply has an impact on the element’s internal content.
What is Padding?
- Padding is simply the process of adding space inside any set borders around the content of an element.
- By creating gaps inside the component and managing its interior space, padding can change the shape and size of the object.
- Padding attributes allow us to modify the top, bottom, left, and right padding separately.

Padding Values
The following values are possible for each of the padding properties:
- Length: px, pt, cm, and so on.
- width: percentage of the element’s width.
- inherit: carry over the parent element’s padding.
NOTE*: You can have negative values.
CSS Padding Properties
To specify the padding on either side of an element, use the values provided by CSS:
padding (shorthand property)padding-toppadding-rightpadding-bottompadding-left
Syntax:
element{
padding: value;
}
| PROPERTY | DESCRIPTION |
| padding | A property shortcut that allows you to set every padding property in a single declaration. |
| padding-top | sets an element’s top padding. |
| padding-right | sets an element’s right padding. |
| padding-bottom | sets an element’s bottom padding. |
| padding-left | sets an element’s left padding. |
Padding-Shorthand Property
Padding (shorthand property): In a single line, it enables you to quickly apply padding to the chosen element by setting the padding on its top, right, bottom, and left sides using a variety of permutations.
The following specific padding properties can be summed up as the padding property:
padding-toppadding-rightpadding-bottompadding-left
Thus, this is how it functions:
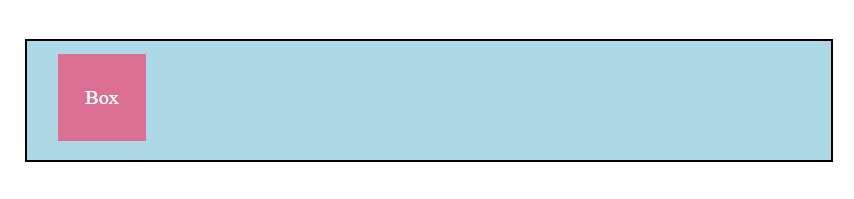
1.If there are four values in the padding property:
padding: 25px 50px 75px 100px;- top padding is 25px
- right padding is 50px
- bottom padding is 75px
- left padding is 100px
Example:
<!DOCTYPE html>
<html>

<head>
    <title>Padding Property Contains Four Values</title>
    <style>
        body {
            margin: 0;
            padding: 20px;

        }
        .Div {
            background-color: lightblue;
            border: 2px solid black;
            text-align: center;
            width: 40%;
            padding: 10px 20px 15px 25px;
        }

        .inner {
            height: 70px;
            width: 70px;
            background-color: palevioletred;
            color: white;
            display: flex;
            align-items: center;
            justify-content: center;
        }
    </style>
</head>

<body>
    <div class="Div">
        <div class="inner">Box</div>
    </div>
</body>

</html>
Output:
2.If there are three values in the padding property:
padding: 10px 20px 30px;- top padding is 10px
- right and left padding is 20px
- bottom padding is 30px
Example:
<!DOCTYPE html>
<html>

<head>
    <title>Padding Property Contains Three Values</title>

    <style>
        body {
            margin: 0;
            padding: 20px;

        }
        .Div {
            background-color: yellow;
            border: 2px solid black;
            text-align: center;
            width: 40%;
            padding: 10px 20px 30px;

        }

        .inner {
            height: 70px;
            width: 70px;
            background-color: palevioletred;
        }
    </style>
</head>

<body>
    <div class="Div">
        <div class="inner">Box</div>
    </div>
</body>

</html>
Output:

3.If there are two values in the padding property:
padding: 25px 50px;- top and bottom padding is 25px
- right and left padding is 50px
Example:
<!DOCTYPE html>
<html>

<head>
    <title>Padding Property Contains Two Value</title>

    <style>
        body {
            margin: 0;
            padding: 20px;

        }

        .Div {
            background-color: lightblue;
            border: 2px solid black;
            text-align: center;
            width: 40%;
            padding: 10px 20px;

        }

        .inner {
            height: 70px;
            width: 70px;
            background-color: palevioletred;

        }
    </style>
</head>

<body>
    <div class="Div">
        <div class="inner">Box</div>
    </div>
</body>

</html>
Output:

4. If there are one value in the padding property:
padding: 25px;- top, right, left, and bottom padding is 25px
Example:
<!DOCTYPE html>
<html>

<head>
    <title>Padding Property has One Value</title>
    <style>
        body {
            margin: 0;
            padding: 20px;

        }
        .Div {
            background-color: yellow;
            border: 2px solid black;
            text-align: center;
            width: 40%;
            padding: 20px;
        }

        .inner {
            height: 70px;
            width: 70px;
            background-color: palevioletred;
            display: flex;
            align-items: center;
            justify-content: center;
        }
    </style>
</head>

<body>
    <div class="Div">
        <div class="inner">Padding</div>
    </div>
</body>

</html>
Output:

Order of values in CSS Margin and Padding:
- One value: All four sides are given the same margin.
- Two values: The top and bottom are covered by the first value, and the left and right are covered by the second value.
- Three values: The values that apply to the top are the first, the left and right are the second, and the bottom is the third.
- Four values: The values apply to the left, bottom, right, and top, in that order.
Difference Between CSS Margin and Padding
| FEATURES | PADDING | MARGIN |
| Definition | the area inside an element that is between its border and content. | space between an element’s border and its surrounding elements, or outside of an element. |
| Affects size | Yes, it enlarges the element’s overall size. | No, it doesn’t make the element bigger overall. It makes room outside the component. |
| Background color | The padding area has the element’s background color applied to it. | The margin region does not have the element’s background color applied to it. |
| Box model | Inside the border is a portion of the element’s box model. | Beyond the boundary of the element’s box model. |
| Collapsing | Other paddings do not cause the padding to collapse. | Margins that are near to one another (vertical margins) may collapse. |
READ ALSO: TIC TAE TOE GENERATOR IN PYTHON